
Something clicked today; I can’t put a finger on it, but I think it was a combination of the beauty of the garden on this fine spring day, the anticipation of Earth Day, Thursday, April 22nd, and the upcoming plant sale. I need to start working on the plant list, but we will have lots of garden goodies. In any case, yesterday wore me out, err, excited me to press on. Nell and I are calling next week’s work session, “all hands on deck” to spread our newly discovered compost to cover the beds we are slowly weeding. After that, we can return to normal improvements. But first, there is still more work to be done in the compost piles. More on both later.

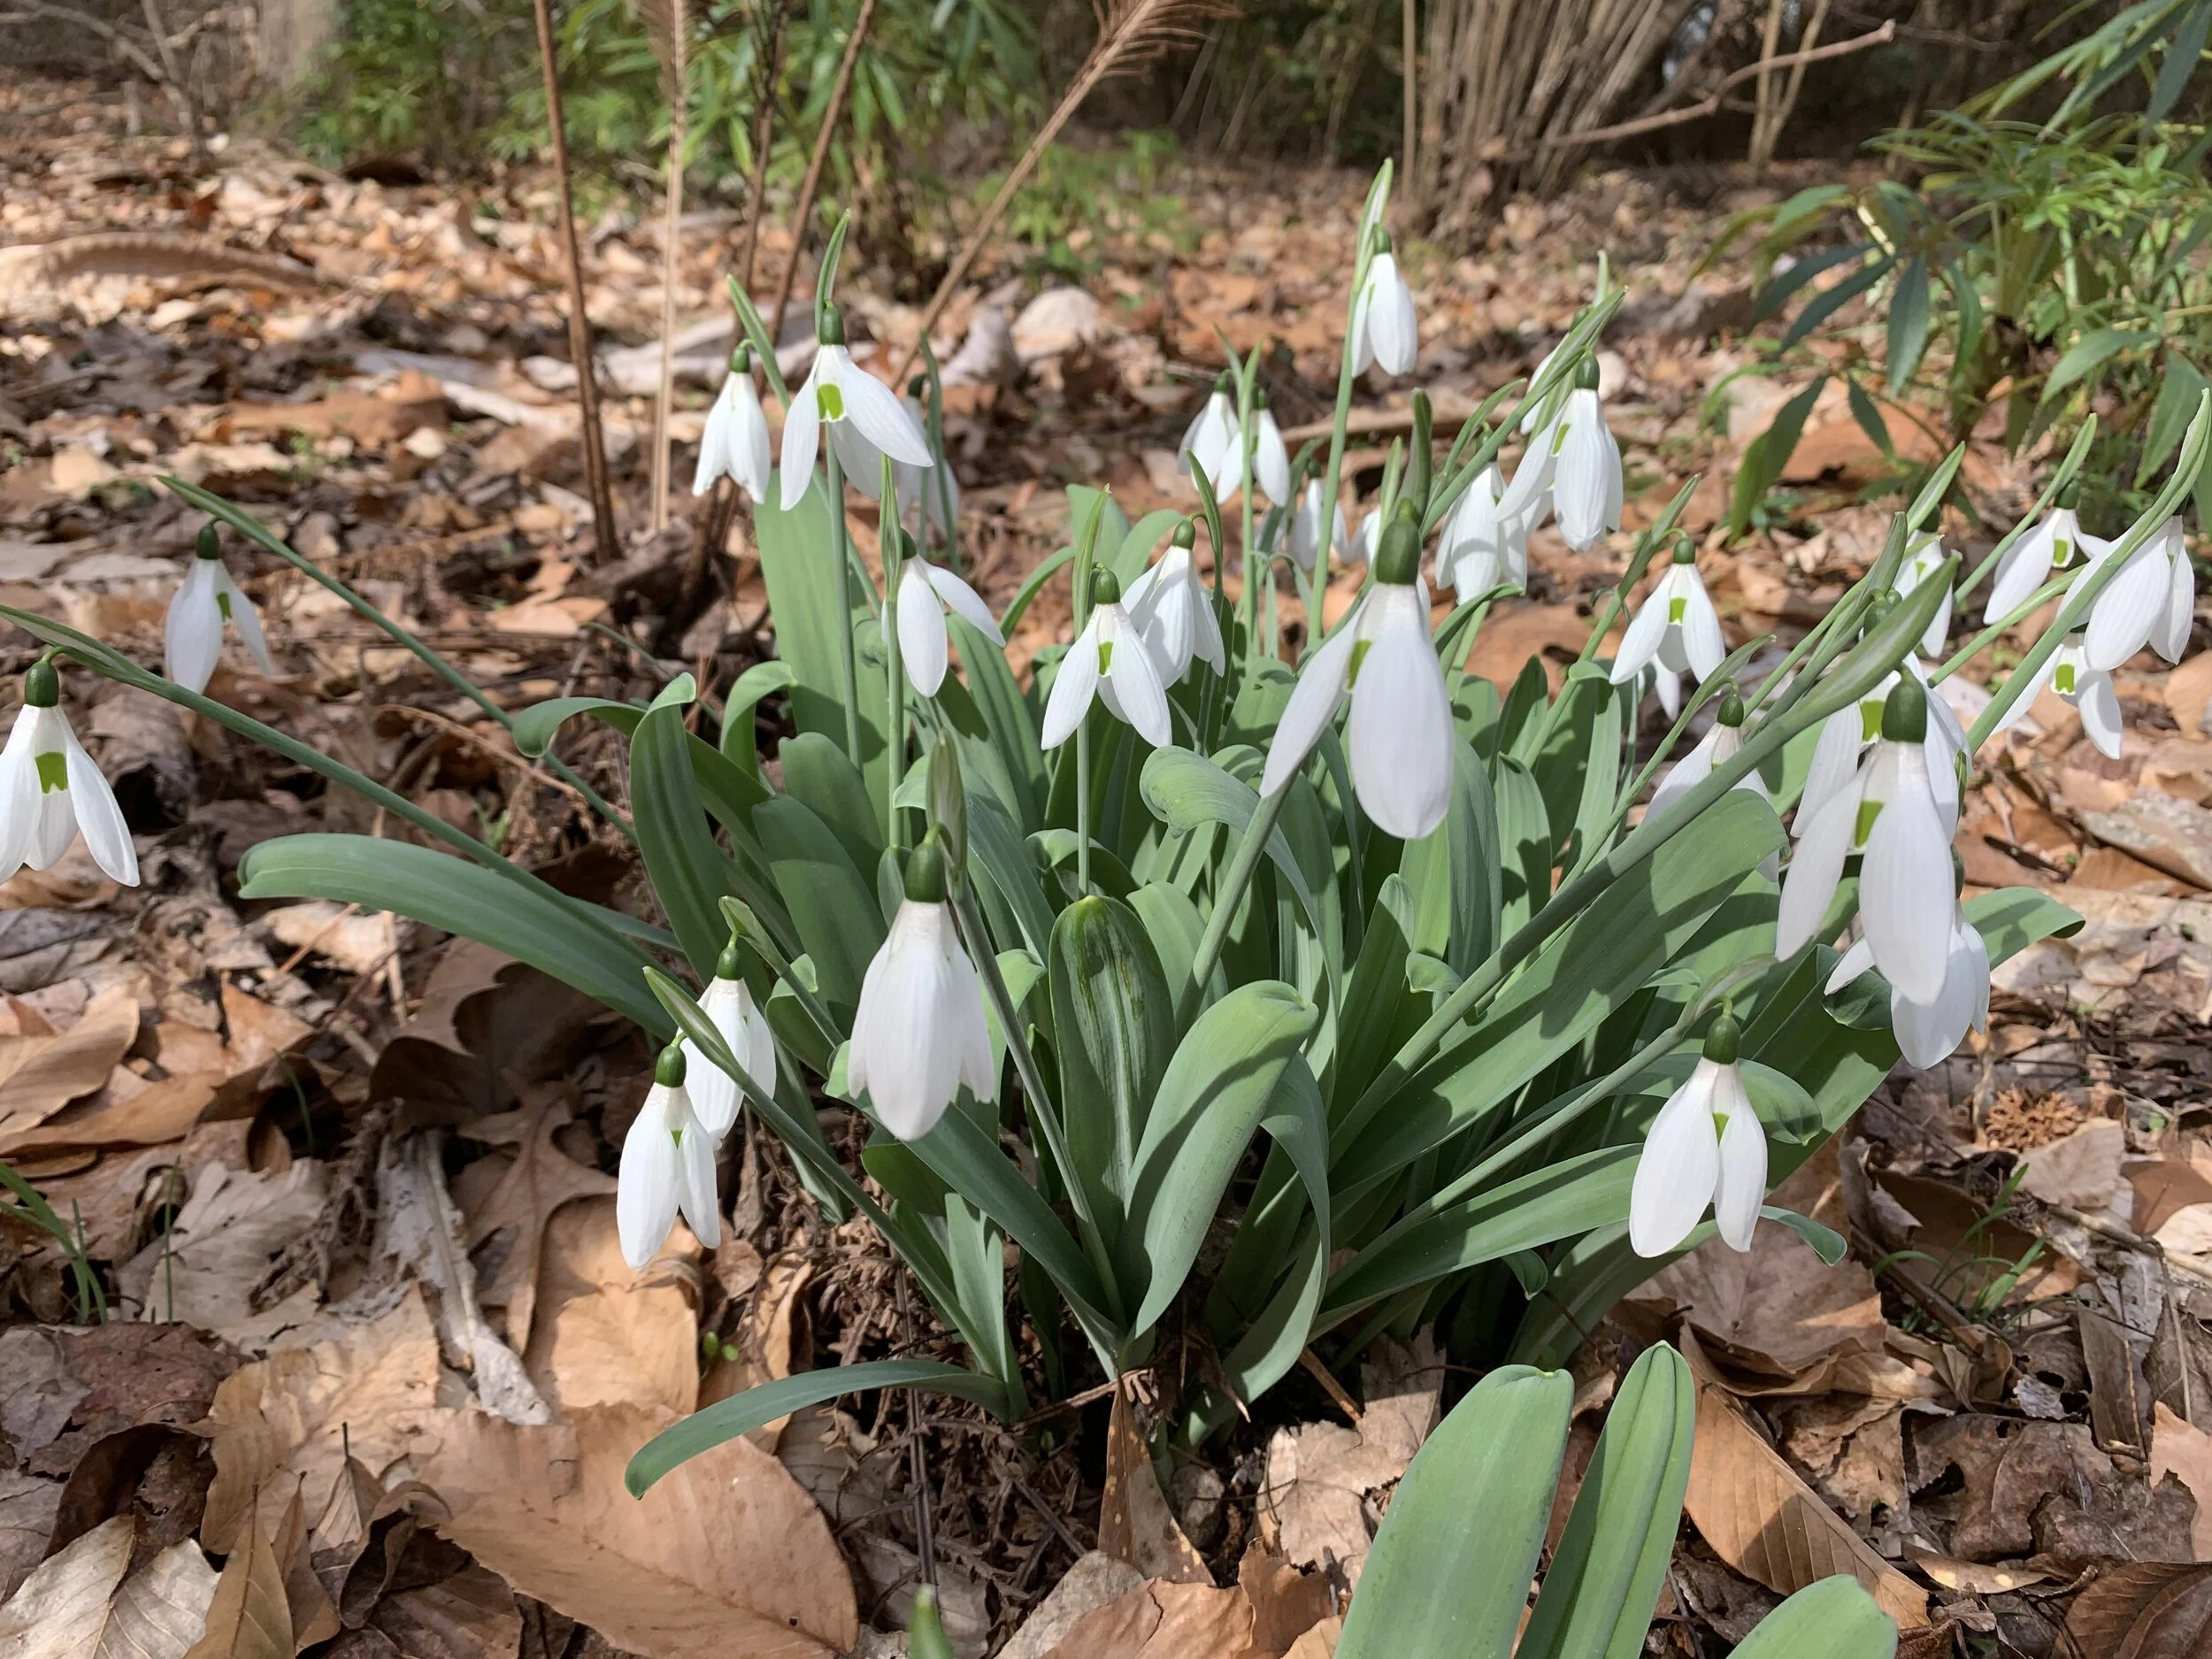
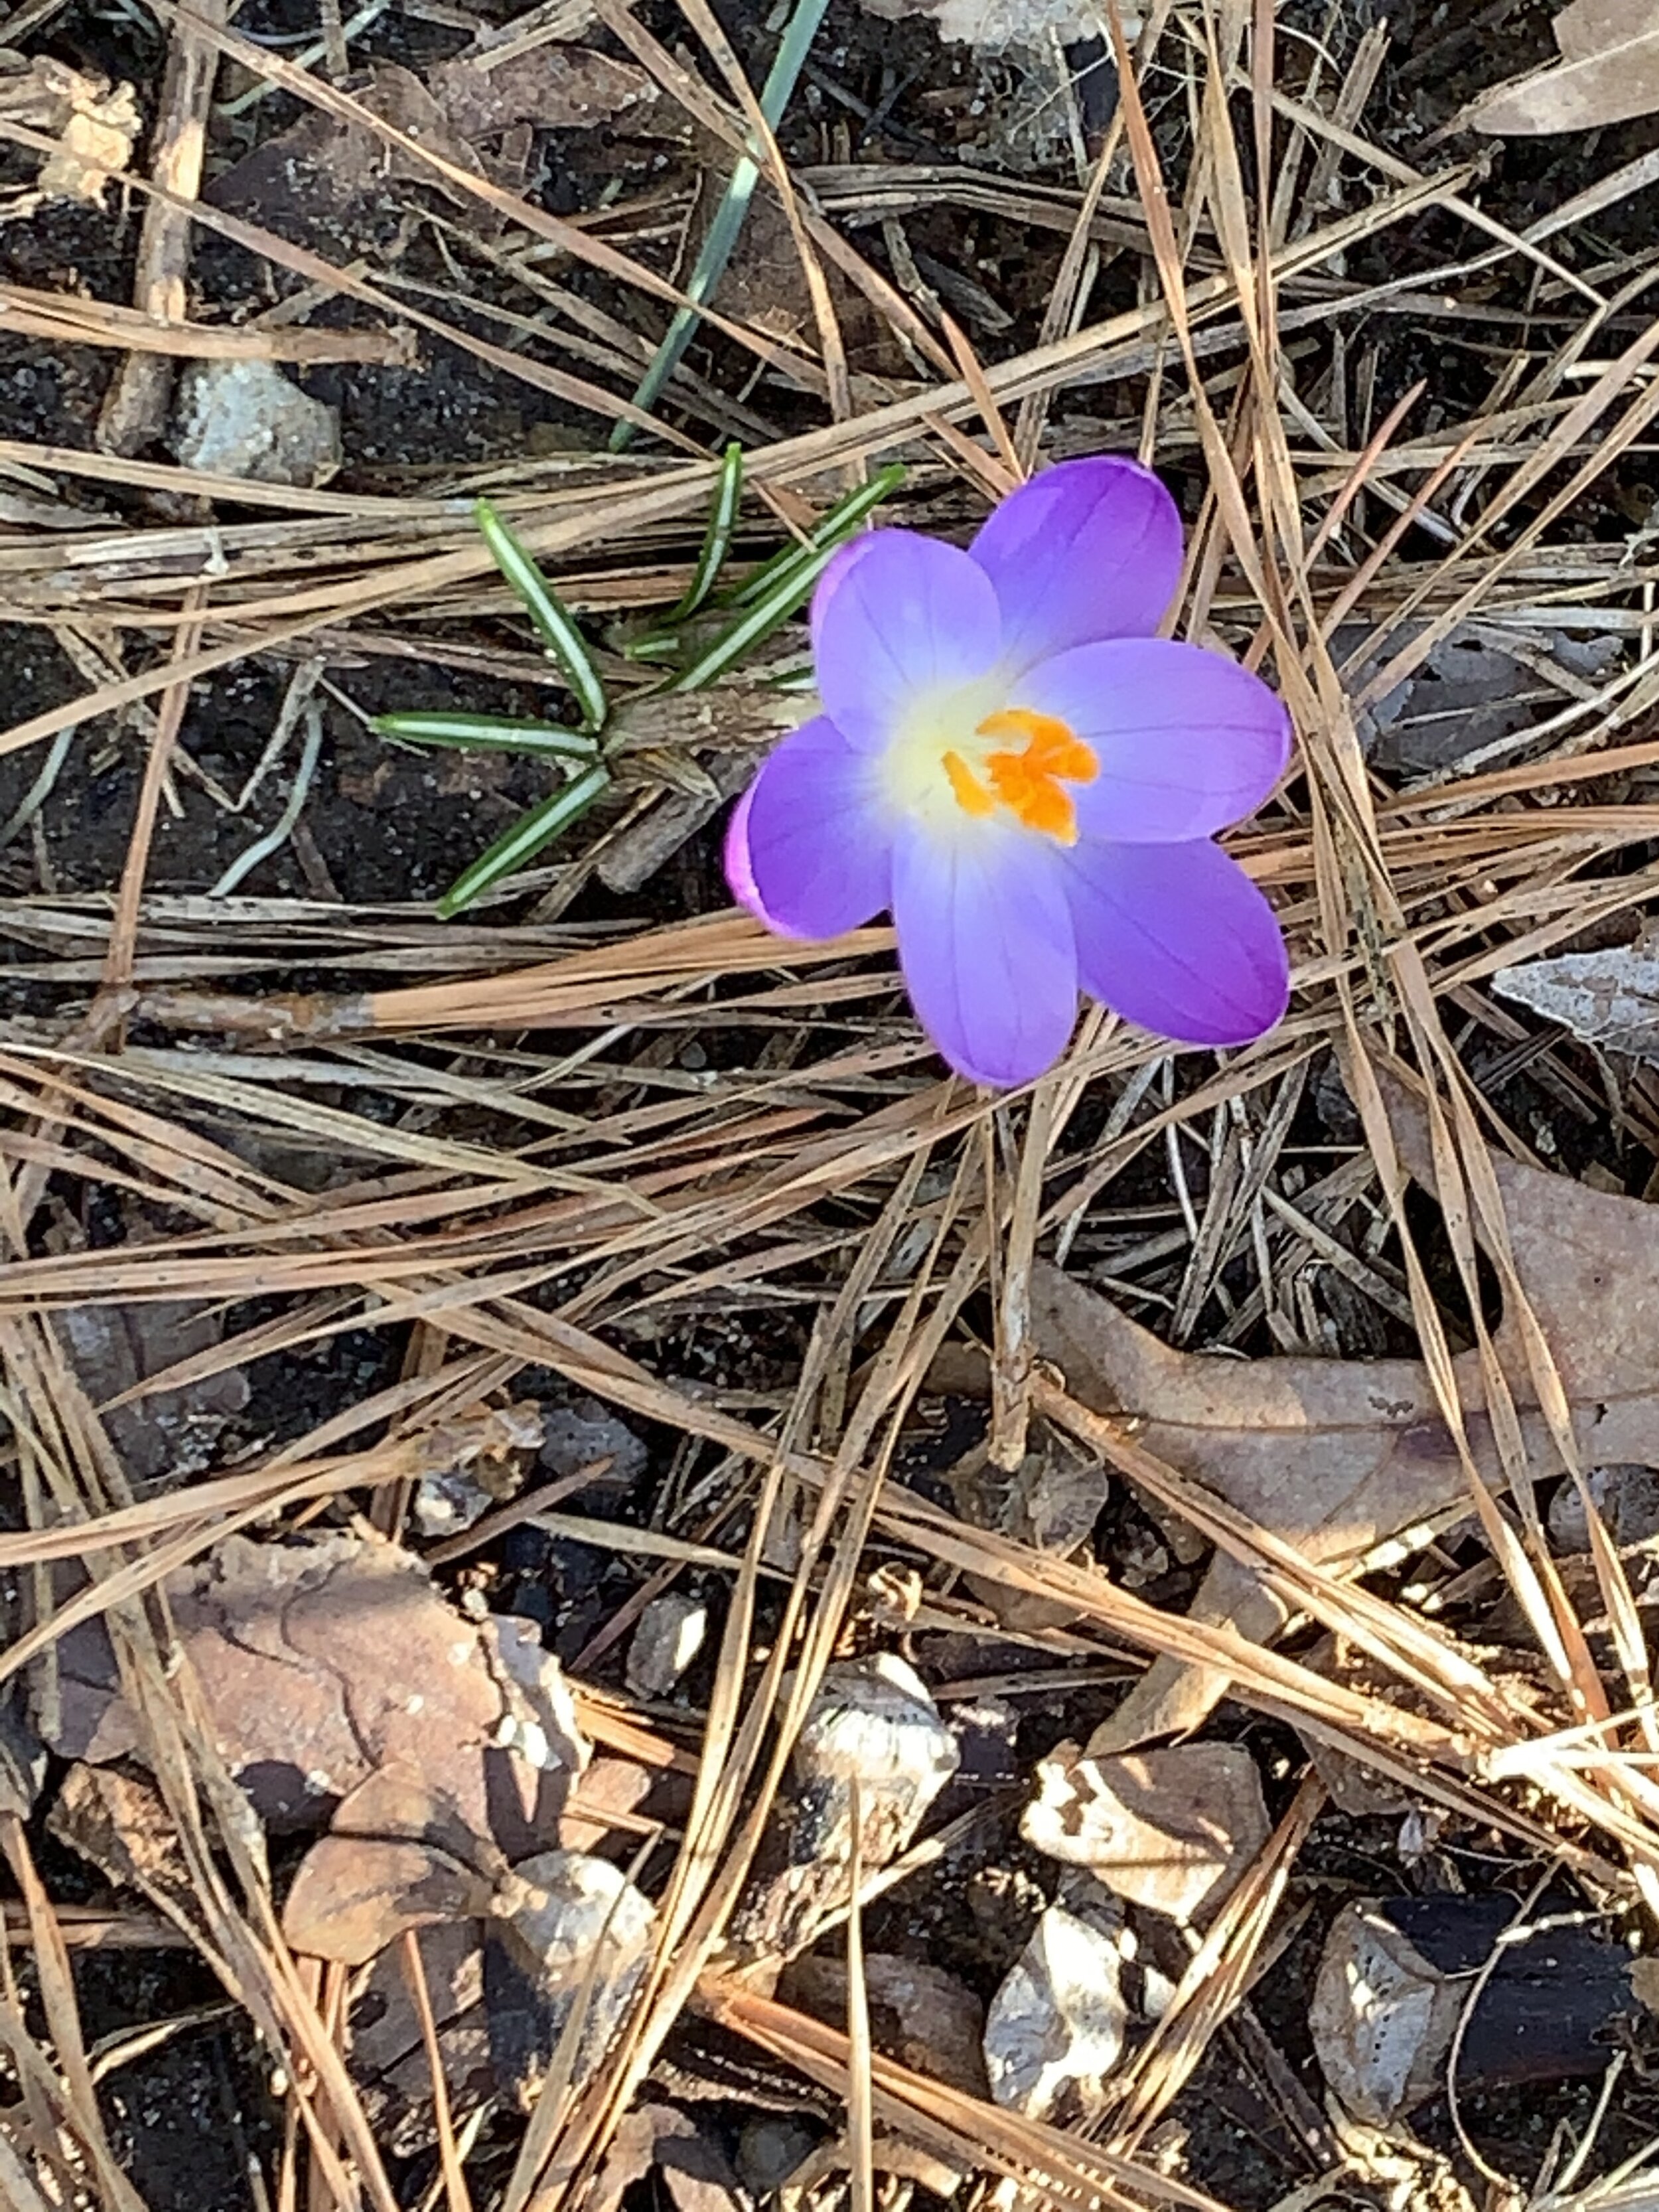
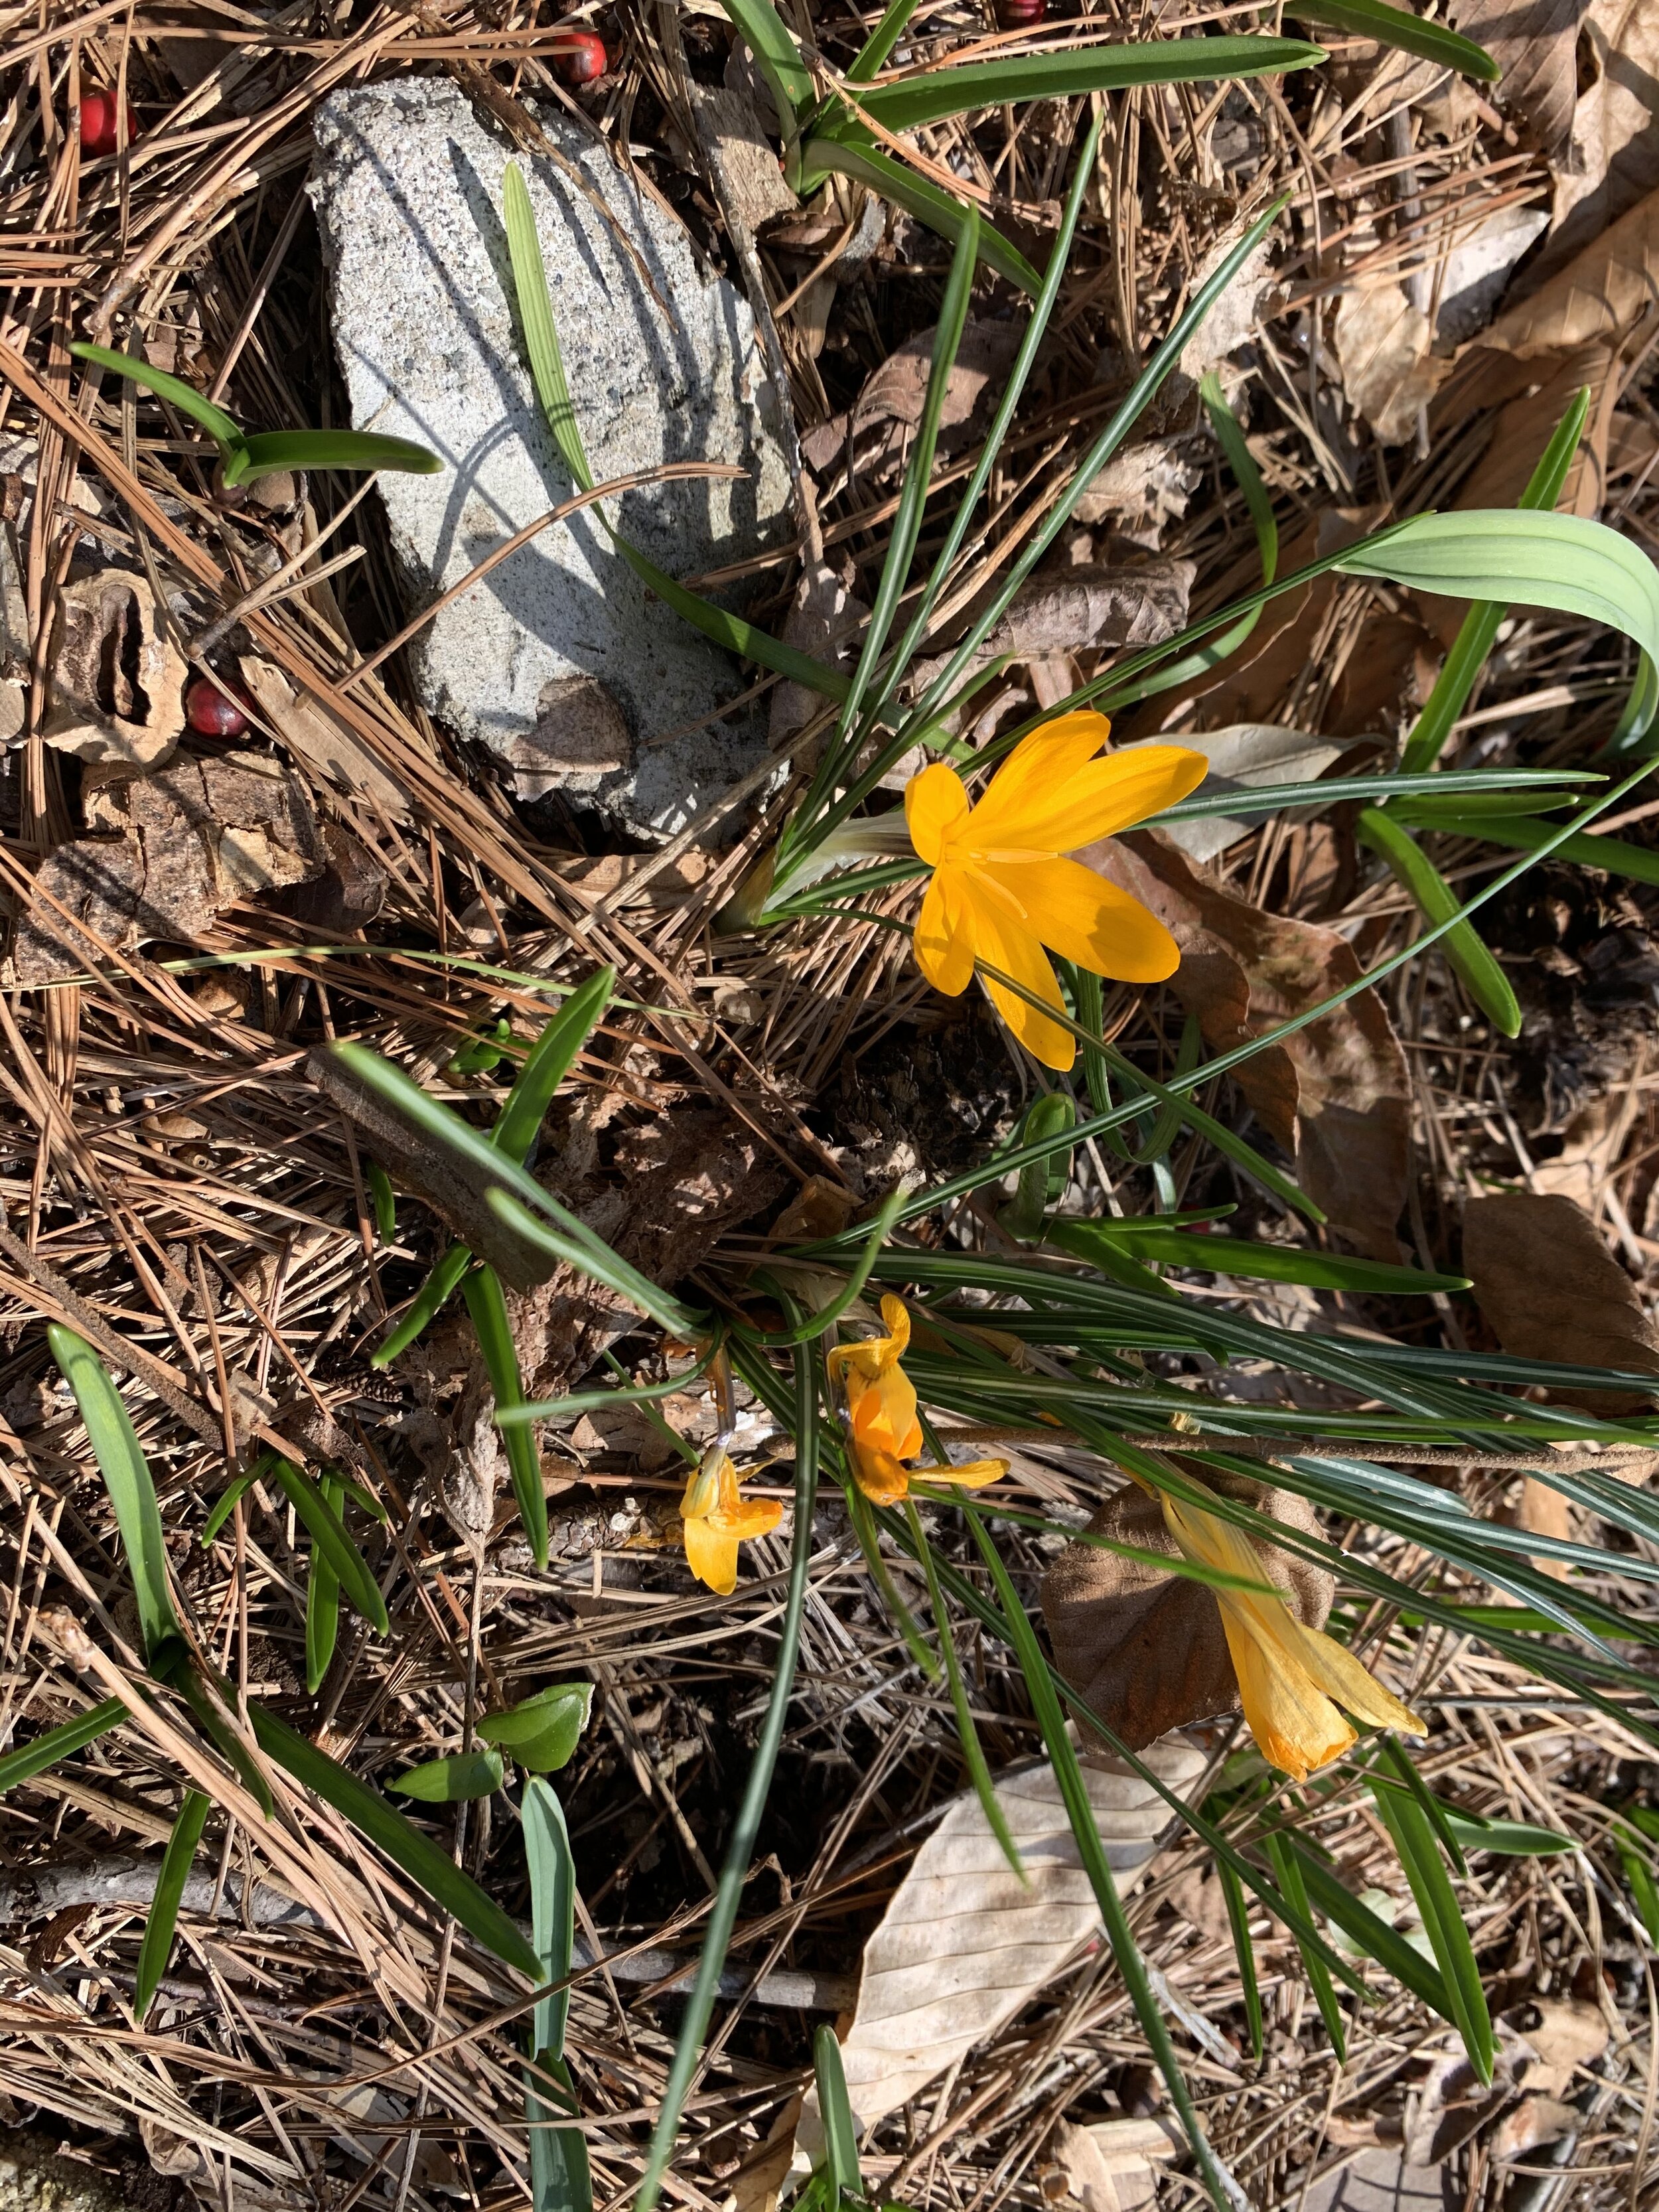
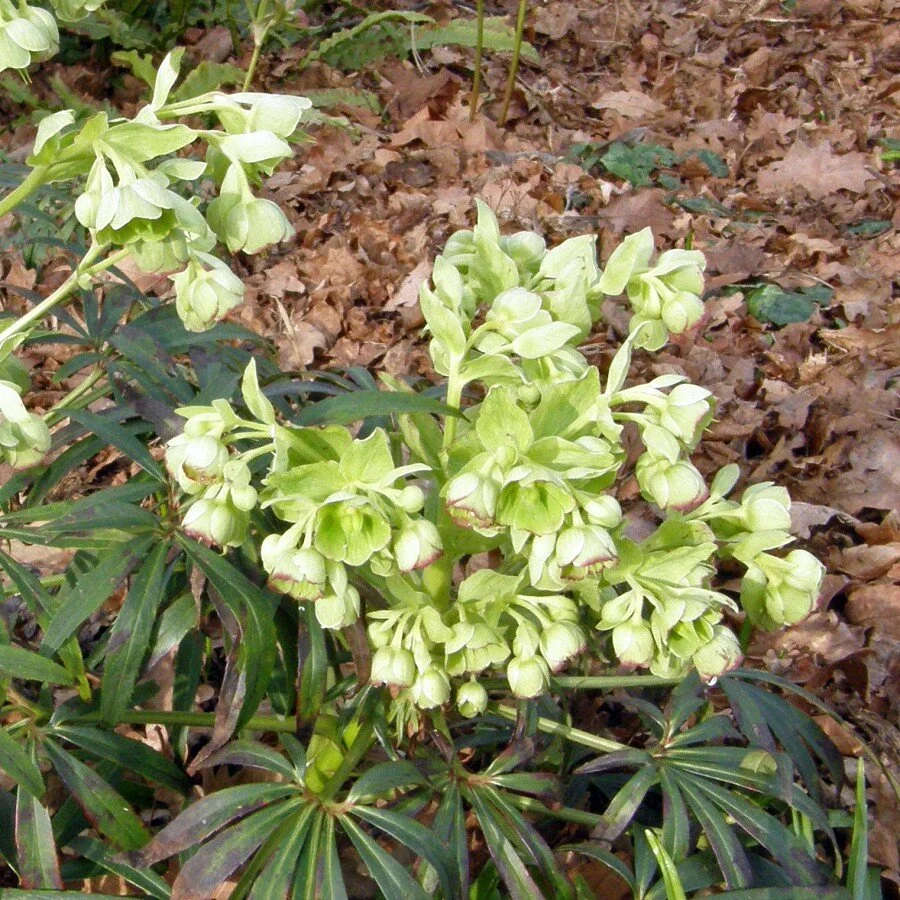
Eye candy
NELL GETS EDGY

Nell Joslin, clearing out dwarf mondo, Ophiopogon japonicus ' Nana', and adding snowflakes, Leucojum spp., then topping with compost.

Nell suspected there was more driveway than meets the eye! She was right! We found the edge a couple of feet inward. In the next week or two, we will move the soil back up the hill.

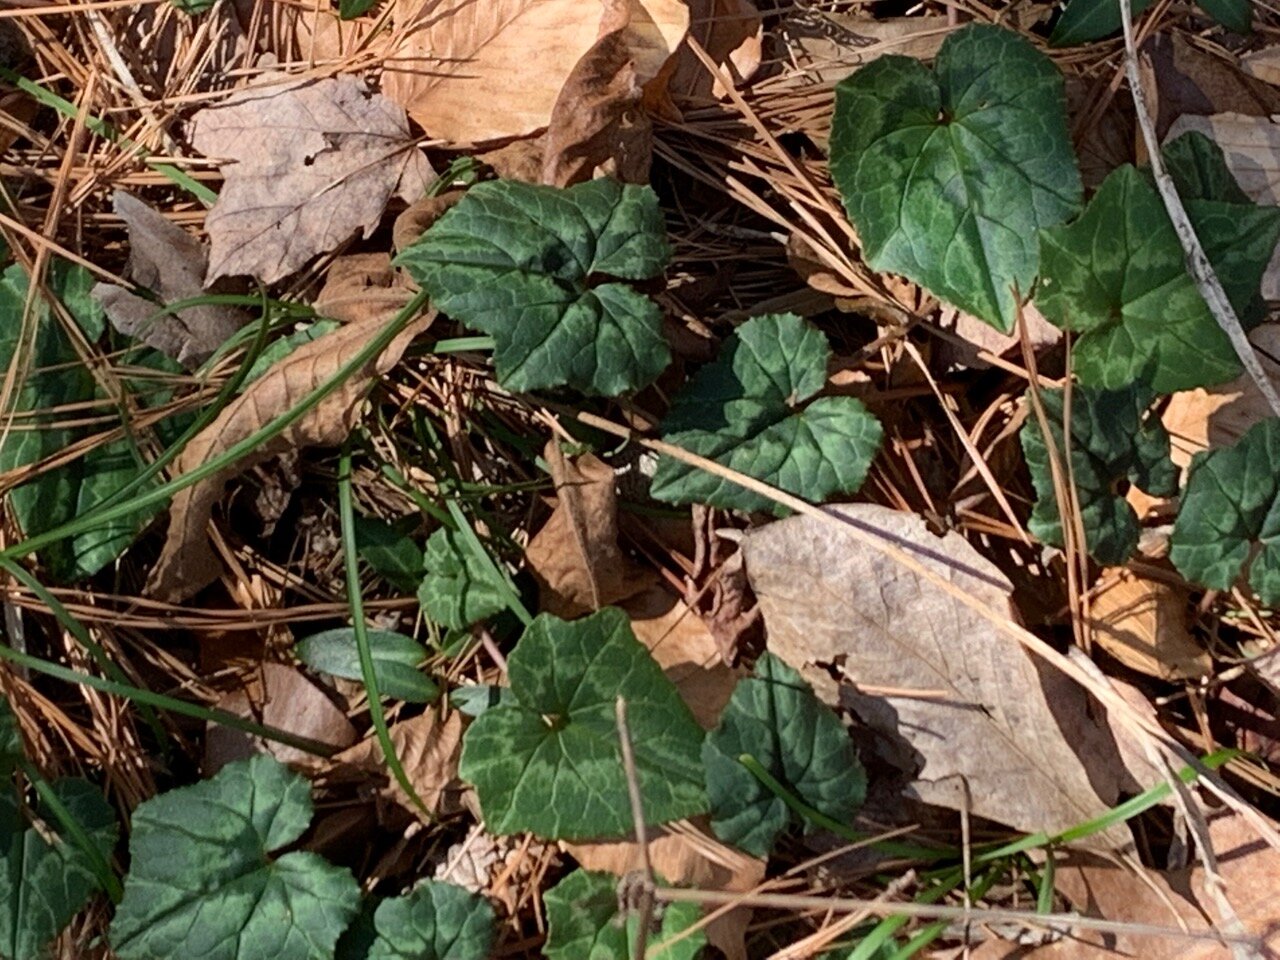
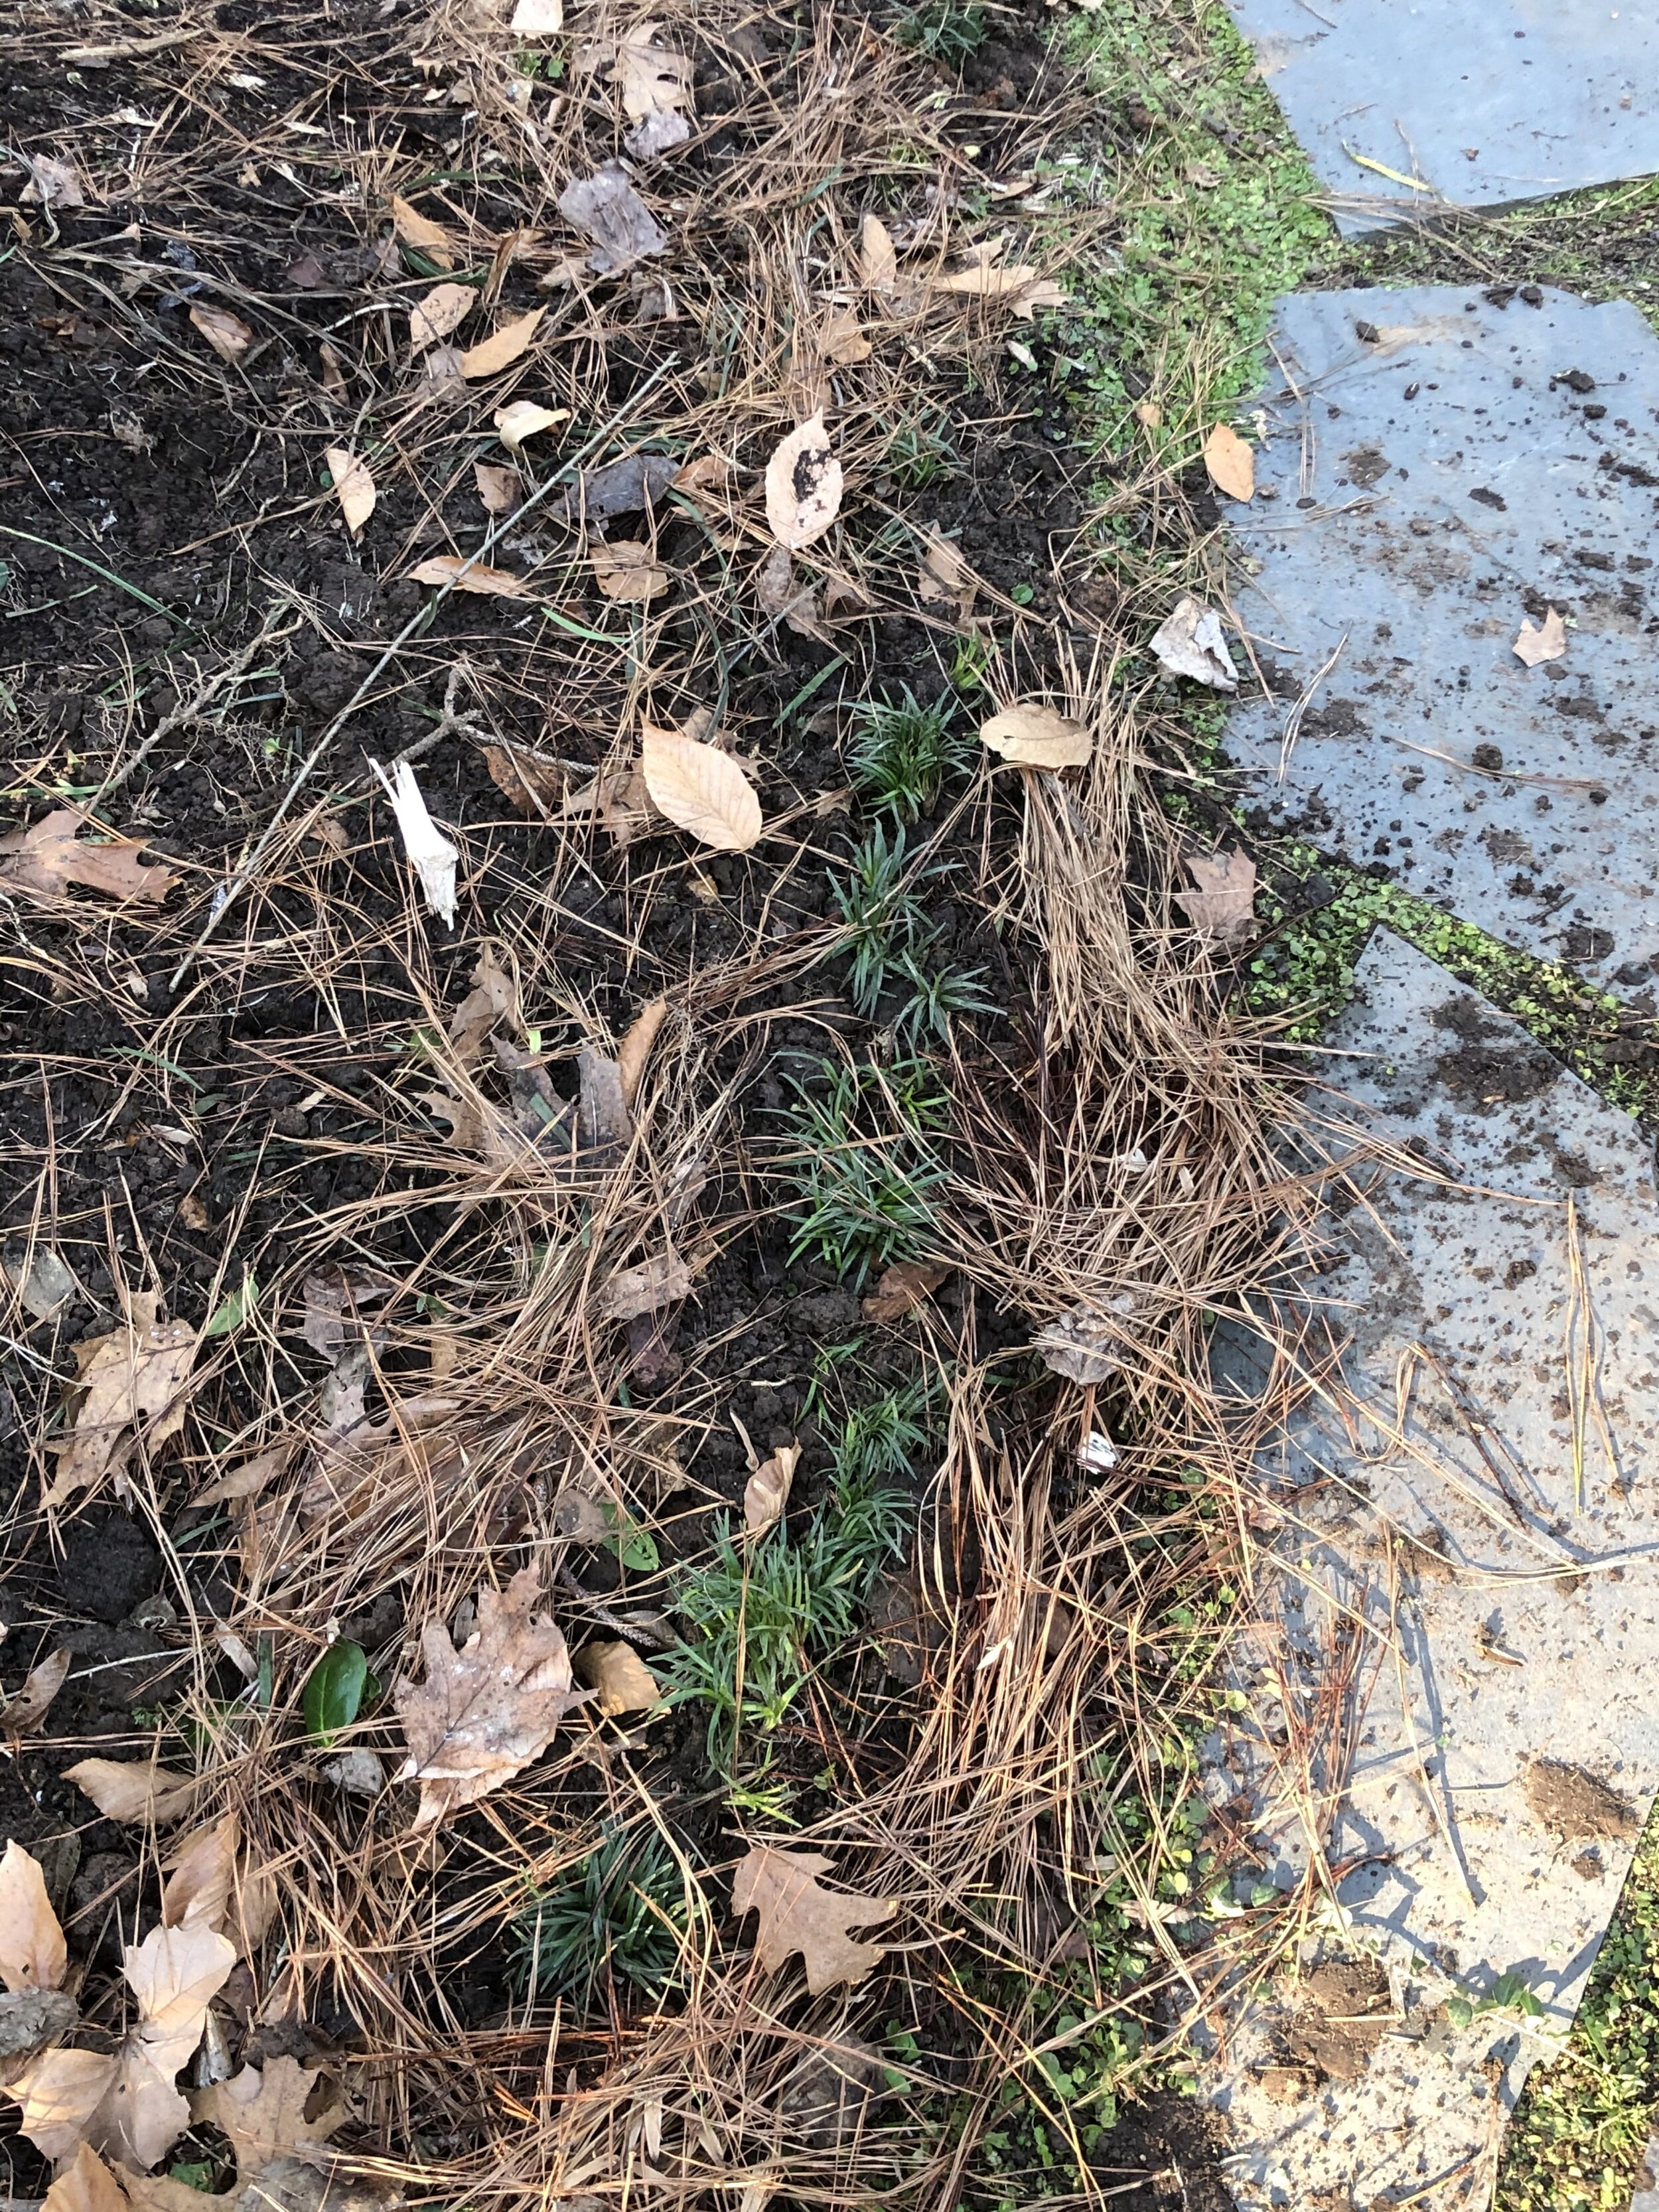
Nell Joslin added a line of dwarf mondo ‘Nana’ along the path. It is our hope we will end up with an entire lawn of ‘Nana’.

Ophiopogon japonicus ‘Nana’ Nell Joslin dug up from other areas of the garden to use as edging. Our goal is to replace the lawn with this verdant beauty.

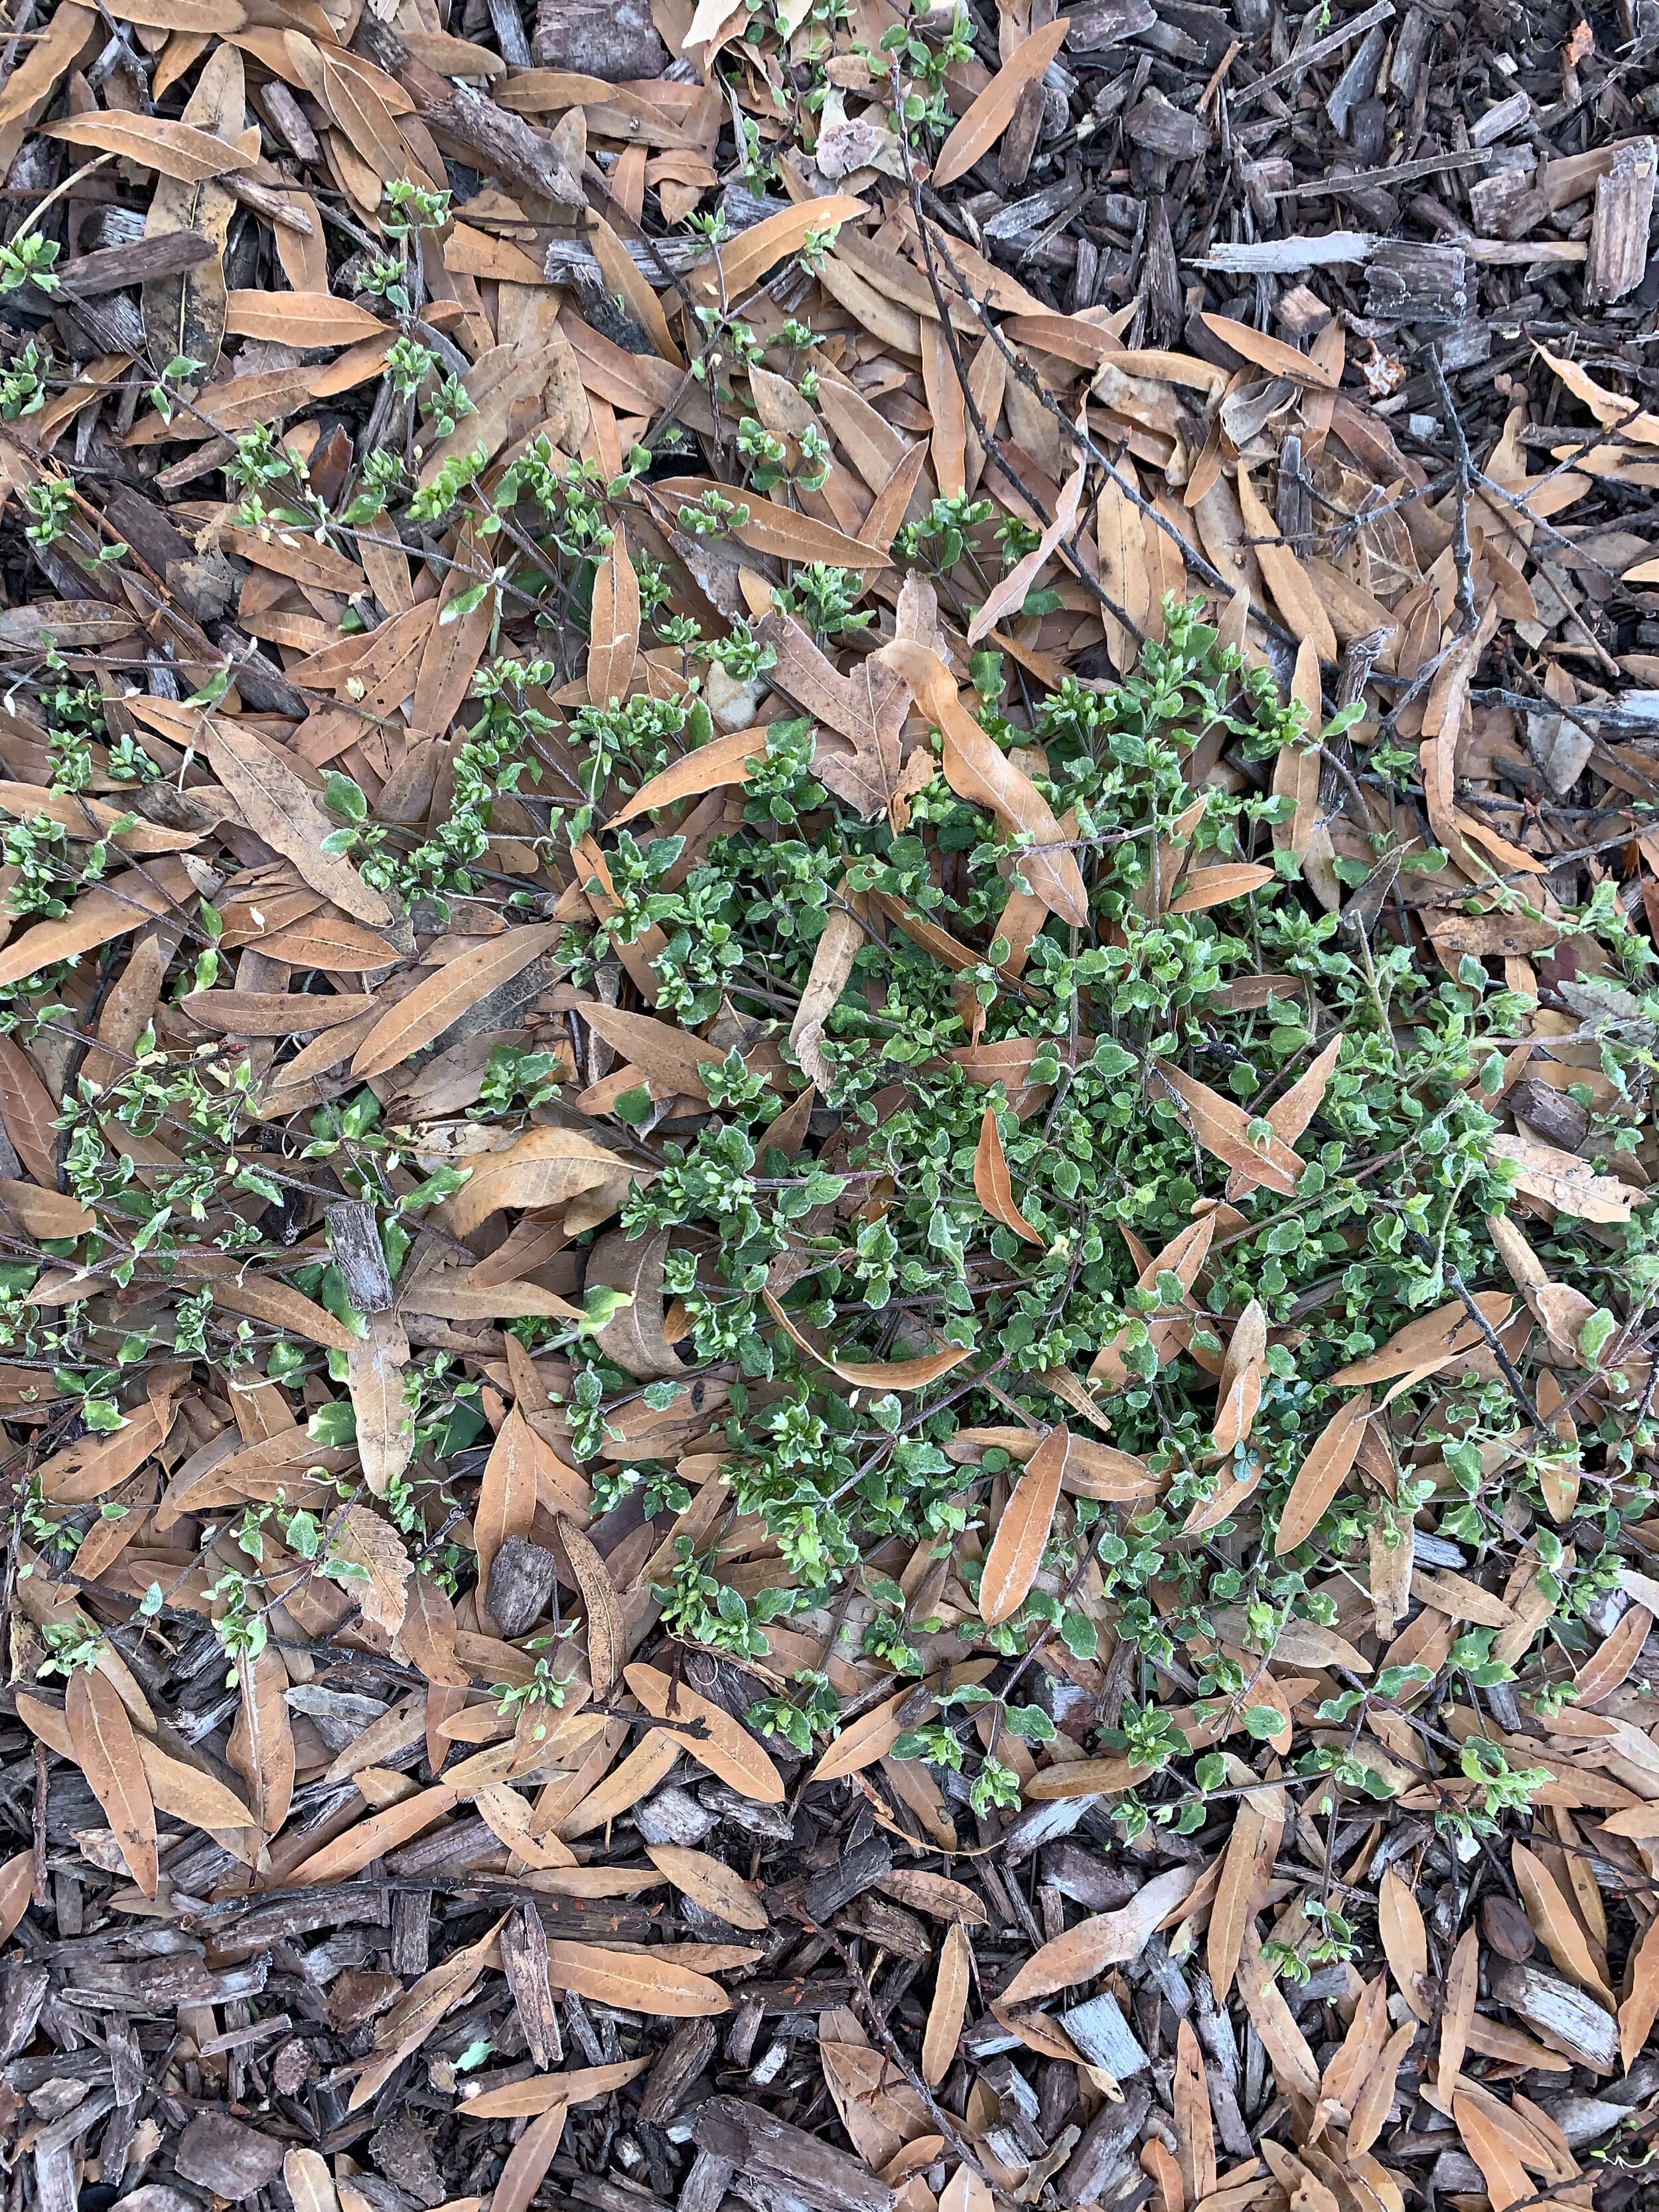
Nell and I discussed adding the dwarf mondo, Ophiopogon japonicus ' Nana' dug from where Volunteer Beth was working, but then we realized there is a weed barrier down. Please note how well the barrier is NOT affective. I’m not a fan AT ALL of weed barriers. Because of the barrier, we decided just to put down cardboard and cover with mulch. Maybe someday we can improve this area, but at least after next week it will not be an eye sore.

I gave Volunteer Art an assist in dealing with the metal edge. At this curve, the edging was up about an inch, holding back water. We agreed it needed to be fixed. First Art tried raising it, but it was proving difficult. Then we tried hammering it to sink. That got us nowhere. So with sheer determination, Art and Helen said, “we got this.” And in deed we did. Team work is always a good idea! If you look closely, you can see my knee prints in the muck on the front side of Art. Haha.
HELEN GETS MUCKY
Where to start? Things got a bit mucky in the garden. For anyone who has ever seen me garden, I do so at ground level. Crazy right?
I started with weeding the four quadrant Formal Garden. I thought I was going to knock out this project in a day, but I was oh, so wrong. I only weeded one quadrant, revealed its existing path, and mulched half of it. So what was the hold up? Read on.

Quadrant 1 in the Formal Garden before weeeding


Ok, here I am after moving and laying compost from Compost Bin 1.
So what was the slowdown? The compost bin. There are still a LOT of sticks mingling in with our black gold. Next week, my first priority will be to clear out the bin completely of sticks, so when we do start seriously laying compost, there will be no obstacles. Another mucky job, but it will save us time in the long run.
In the meantime, Volunteer Ailene began to tackle the winter jasmine, Jasminum nudiflorum, as we discussed last week. Ailene was off on her own working; I regret to say I almost forgot she was there! That is how independent our volunteers are!
Sadly, I didn’t get a picture, but man ole man, she was hard at work. To get this jasmine where we want it, it will take a few more weeks. In the mean time, we have babies to share at the plant sale.
Volunteer Beth was at it tackling another tough job. We had an area at the entrance, against the short retaining wall that was ALL dwarf mondo, Ophiopogon japonicus, the odd snowflake, Leucojum spp. and a sprinkling of daffs.
We decided to make that area a four-season bed. Beth dug out all the mondo, except along the edge, which we wanted to keep, and added several coneflowers, Echinacea purpurea ‘Cheyenne Sprit’, but likely crossed with the straight species. We were fortune to get plants from the City of Raleigh Parks greenhouse, as well as potting soil to pot-up starts for sale plants. We can soon do this b/c we will be part of District 4.

Volunteer Helen. I clean up nice, don’t you think? This photo was taken by Jeremy Schmidt with my second book, Plants with Benefits, was featured in the NYT.
Volunteer Helen, yes, that’s me, again, added volunteer hours. I bet you didn’t know that. I put in volunteer hours each week, as well. Typically house hours putting this post together. So yes, this post has been brought to you by Volunteer Helen. I hope you enjoyed it. If so, please give us a LIKE.
Until soon,
Helen Yoest, Horticultural Specialist
Environmental Scientist, M.S.